Aug
24
2015
 A couple of weeks ago, J and I attempted our first brew day since we moved to Colorado. I chose a saison, thinking it would be a fairly forgiving style. Not only were we using newish equipment in a new space, we’re also 6,700 feet above sea level, where water boils at 200 degrees Fahrenheit. To prepare for brewing in our new environment, we conducted a hot water test to walk through the process and we researched the affects of a low boiling temperature on the brewing chemistry. However, first-hand experience is always the best teacher.
Continue reading
Comments Off on Brew Day Lessons: High Altitude | tags: brew day, equipment
Aug
1
2015
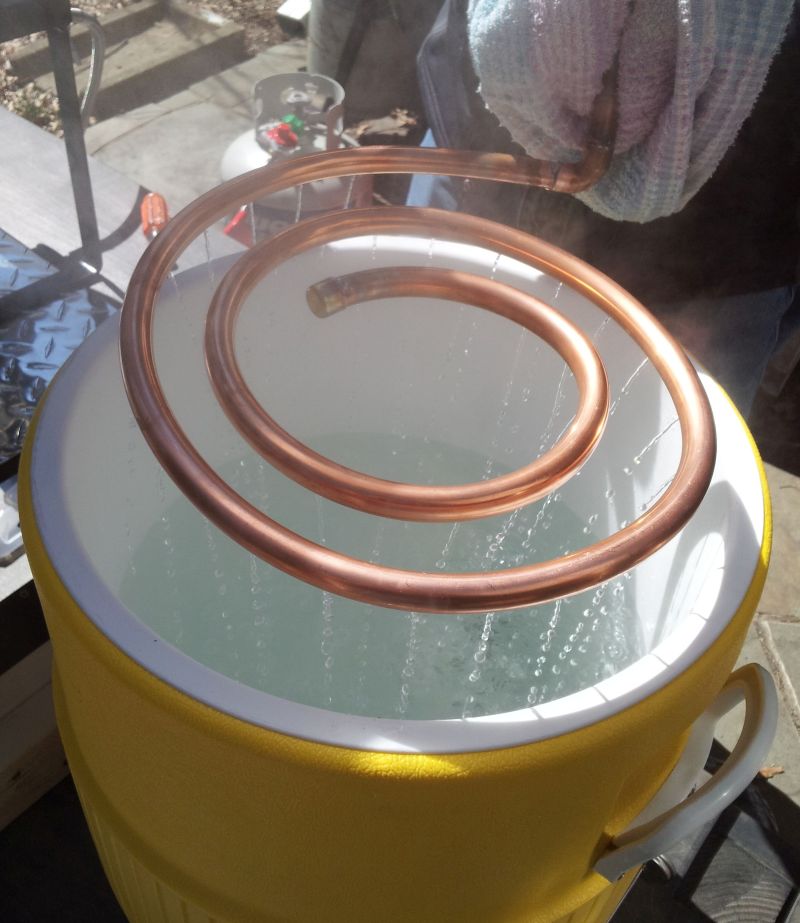
After a move across country to a significantly higher altitude, I wanted to a) make sure all our equipment survived the trip b) gauge how we would need to adjust our brewing process for the new altitude and c) refine the one messy part of our process – the chiller loop. So I scrounged through boxes to find my brewing log, then J and I set up a hot water test.
When we first upgraded our brewing system this spring, we conducted a full hot water test to assess if our equipment, setup and process worked properly from start to finish before any wort was at stake. We also measured a number of factors that contributed to the system’s efficiency and the length of our brewing day. For that test, we gauged…
- Time to bring the hot liquor tank (HLT) to temperature (173 degrees Fahrenheit, for testing purposes)
- Loss of heat transferring water to the mash tun (to attain a 168-degree mash temp)
- Loss of heat during a 60-min mash
- Temperature of water through the sparge arm from the HLT
- Time to bring the kettle to a boil
- Evaporation during a 60-minute boil
- Temperature of wort after running through the plate chiller (how quickly it chills and how to adjust flow rate to hit target wort temperature)
This time, our goals were more specific so we kept the test short. Although we only tested water in the kettle, it provided a quick run-through of what a full brew day might be like in our new location. The most important discoveries:
- We reached a rolling boil around 200 degrees. We may need to make adjustments for this cooler boiling temperature (such as the amount of water we’ll need to reach target mash temperature or the amount of hops we’ll need to achieve our target bitterness).
- We found a comfortable, functional method for controlling how quickly the plate chiller cools the wort so we can more accurately hit our target temperature for pitching the yeast (more on this in another post).
Comfortable with the results, we’re ready for a our first Colorado brewing day!
Have you done similar testing? What other metrics would you find helpful?
Comments Off on A Hot Water Run-Through | tags: equipment, tests
Jul
29
2015
A couple of months ago, J and I decided to turn our life on its head, pack up everything, and head west to Colorado. We were in search of a better quality of life, greater job satisfaction, and an affordable housing market. Neither of us ever moved cross country. It’s been a real learning experience.
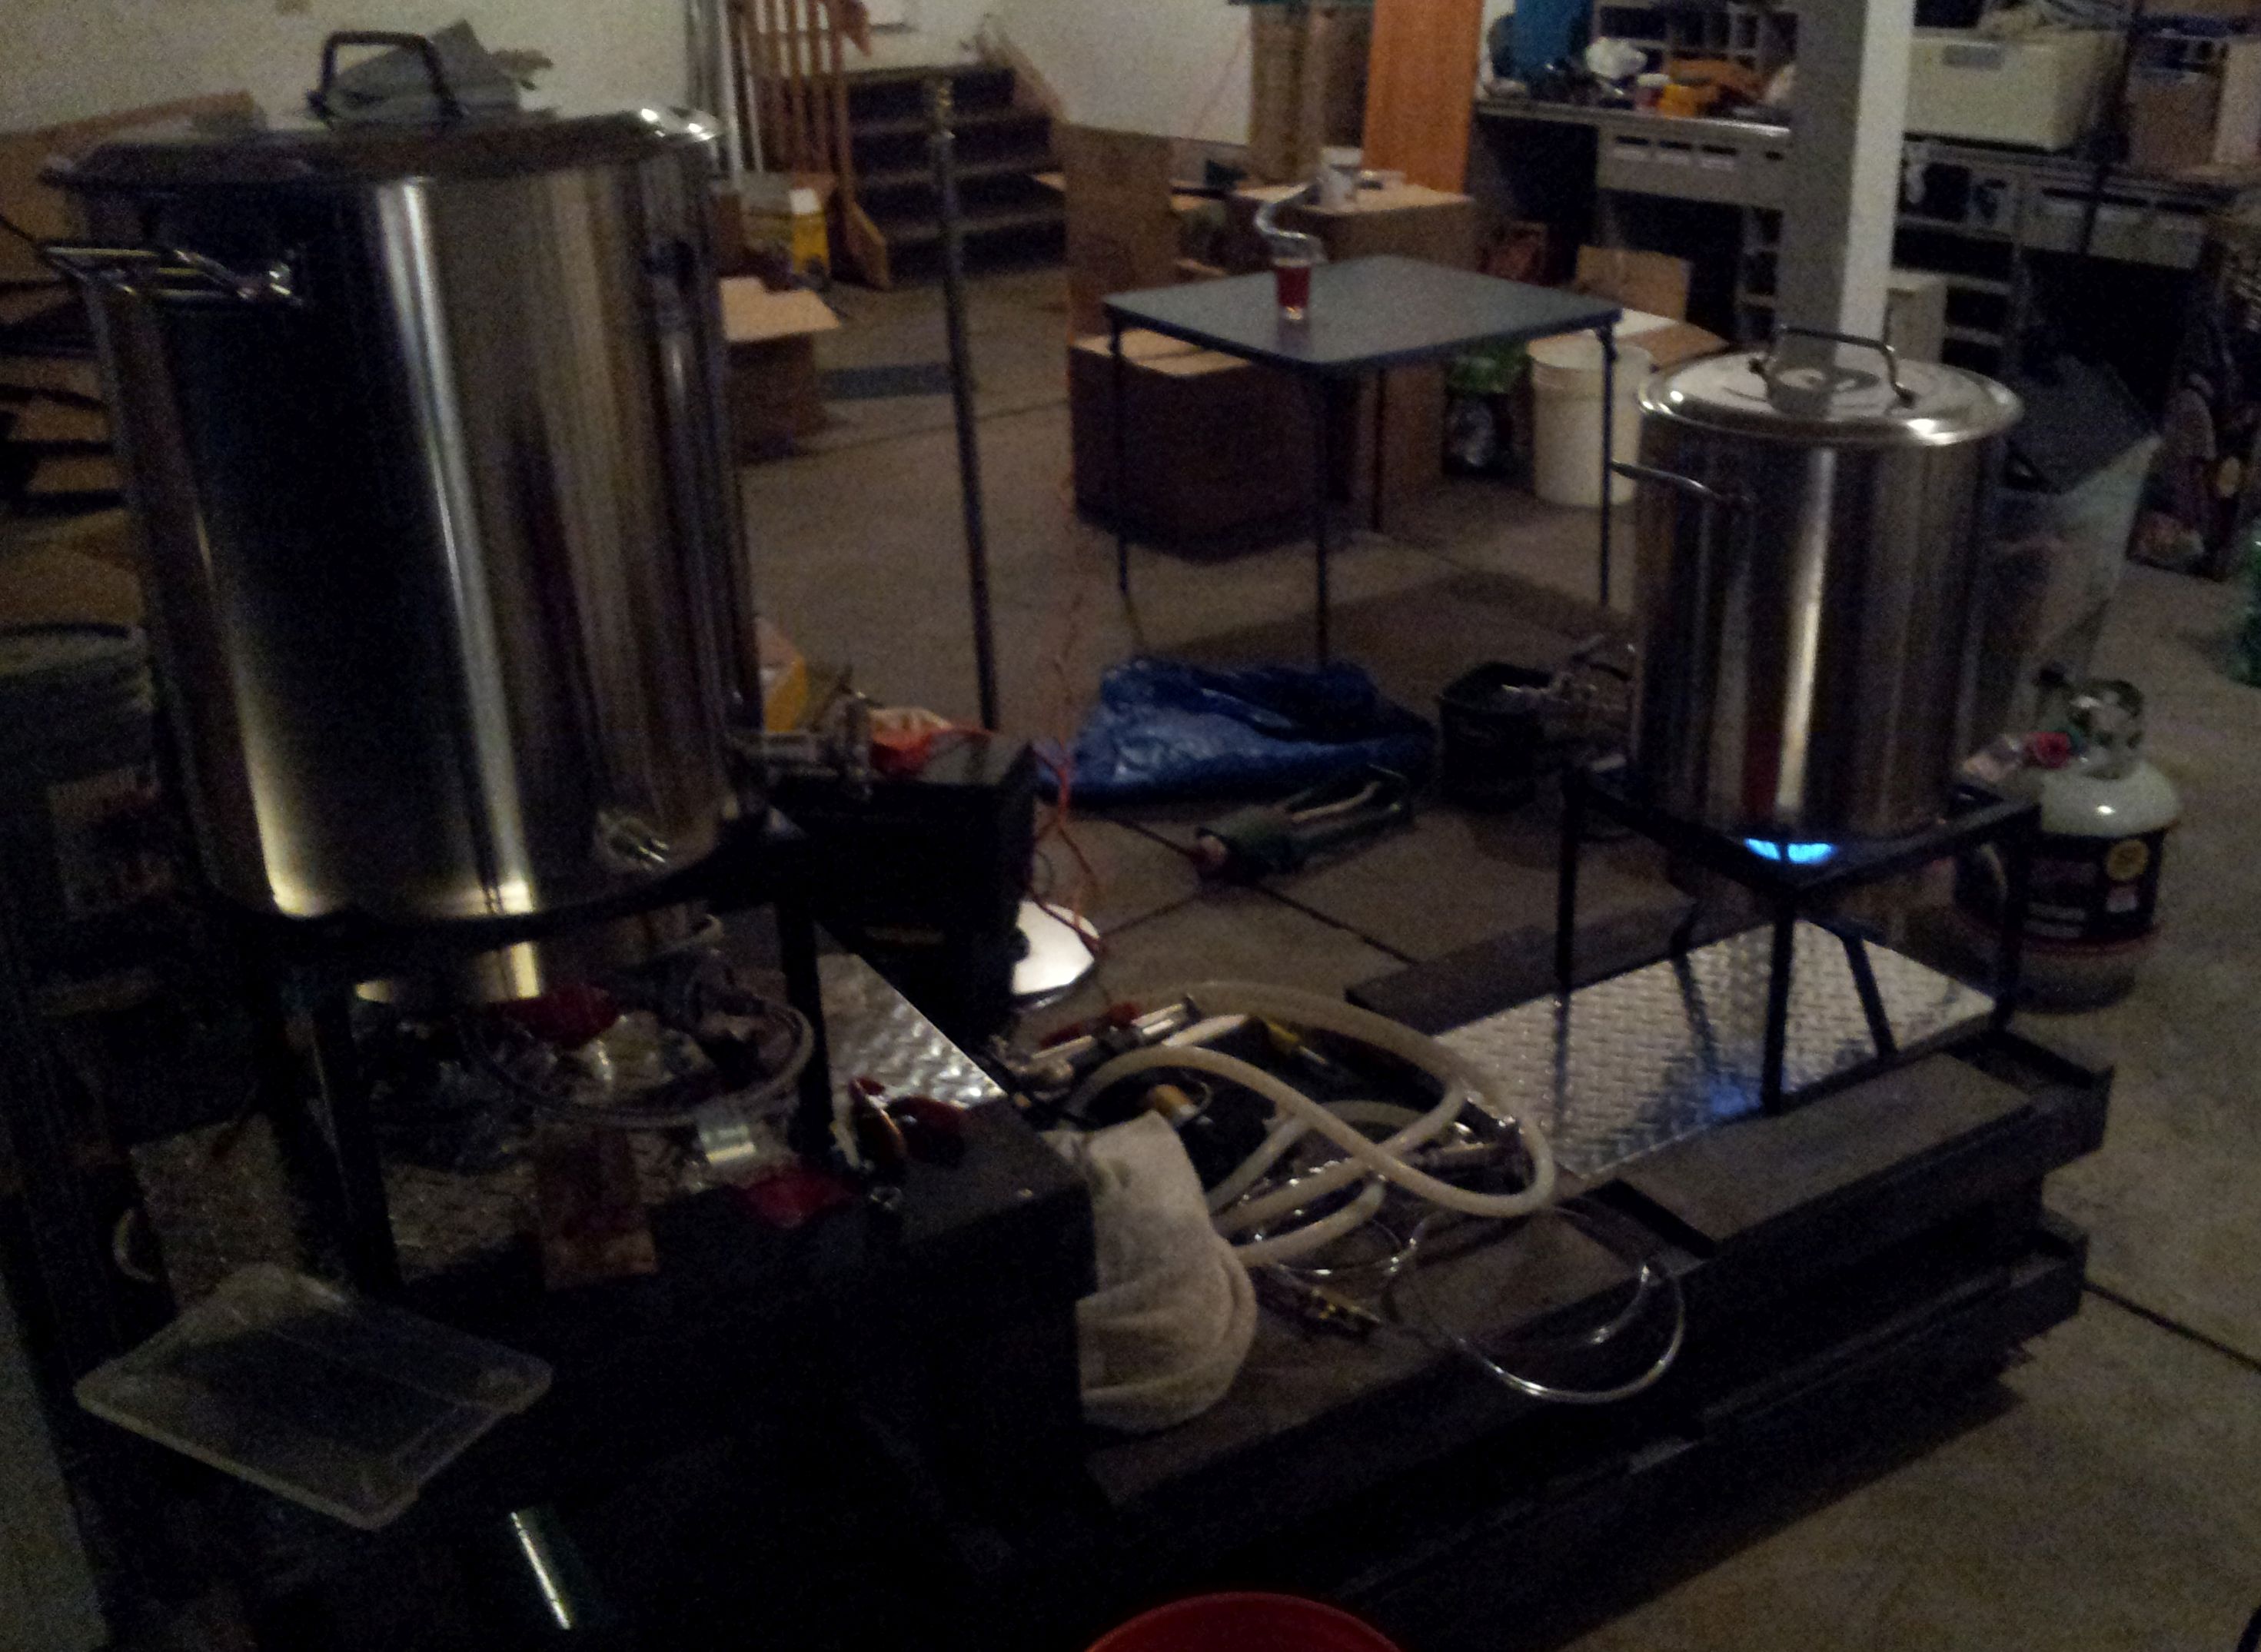
Brewing system set up in the garage
After nearly a month of living out of suitcases, our belongings finally arrived. We took one night this week to unpack and set up the brewery. Everything appears to have arrived safely, but we’ll conduct a hot water test in the coming days to be sure.
Here are some of our lessons learned in case they help you in your next move: Continue reading
Comments Off on One-Way Ticket: Colorado | tags: equipment, tips
Dec
20
2012
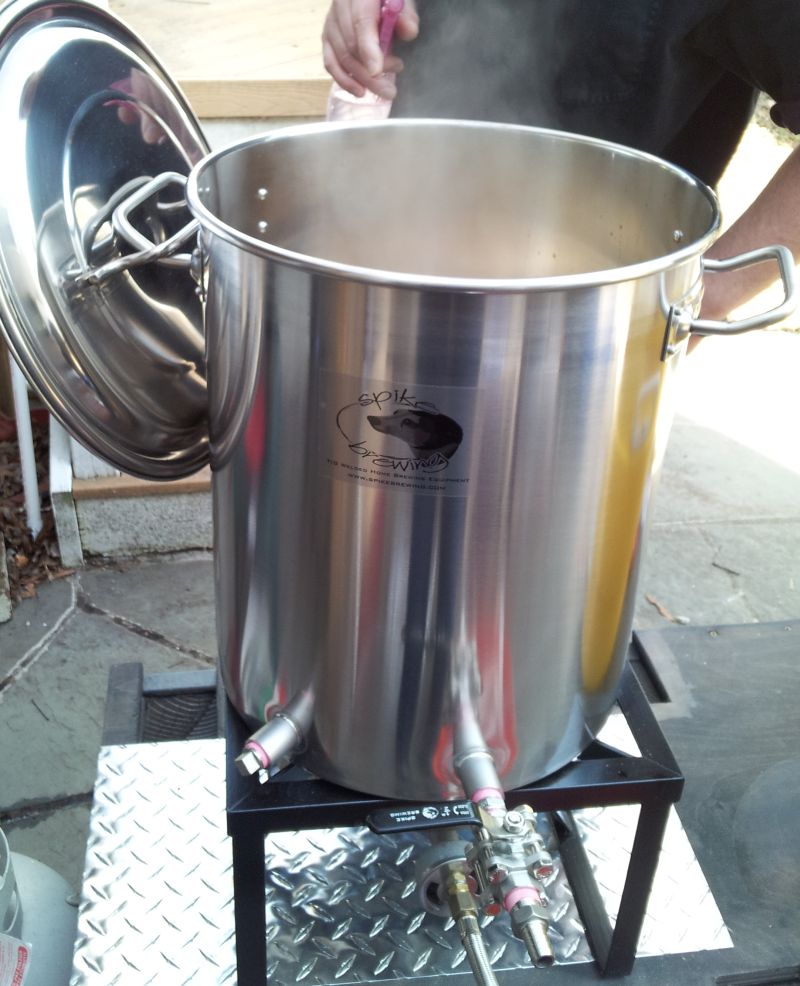
Today  I bought myself a new year’s gift to help me achieve three of the goals I set for myself – transition to all-grain brewing at home, brew more often, and keep experimenting.
I’ll be traveling for the holidays but, when I return in January, I hope to also achieve a fourth goal – brew with friends (who will hopefully help me set up and break in the new equipment!)
Comments Off on Goal Keeping | tags: equipment, homebrew
Oct
28
2012
A [franken]storm’s brewing, which means it’s time to prepare to hunker down, assuming a worst case scenario. Preparing over the last week has been a two-step process. First, I needed to customize my emergency plans for the new house, then I needed to make sure I’m ready for this particular event — hurricane with possible flooding and power outage. I’ve discovered that brewing supplies have come in handy when preparing for emergencies.
Disclosure: In addition to coming from a family of worriers, I’ve done work for the American Red Cross over the last few years, so I have a particular interest in preparedness.
Since I moved this summer, I haven’t taken the time to update my emergency plan and supplies for the new location. Hurricane Sandy was good motivation. I’ve had a nagging to-do list in the back of my head since September, National Preparedness Month, so it’s just been a matter of taking the time to get stuff done. This involves
- Building a kit: I refreshed the supplies in my first aid kit and my “go bag”, including cash and updated copies of important documents.
- Making a plan: I customized my plan with new evacuation routes from both my home and my neighborhood. I also updated my contact plan, coordinated with my housemate, family, and friends.
- Staying informed: I signed up to receive emergency alerts through email/SMS and pulled out my crank-powered emergency radio.
Since I expect to be hunkering down at home for this event, I made sure to have the supplies I might need on hand. I now live in an fairly wealthy, urban area where storms are seldom debilitating and the neighbors’ idea of preparing is apparently stocking up on gourmet cupcakes and wine. I didn’t see the run on standard groceries and supplies that are more common in the suburbs. This stage is where brewing supplies particularly come in handy.
- Potable water: Not only does a good emergency kit include a 3-day supply of water (1 gallon per person per day), an emergency water supply is also important for drinking and cooking, or even bathing and flushing toilets, should the main water supply get disrupted or contaminated. I’ve found that unused carboys or fermentation buckets are great for storage purposes. I made sure to fill a few in advance of the storm.
- Beer supply: Water is important, but having beer (or wine or booze) on hand provides another hydration source and helps to calm nerves. Booze can also be used to sanitize in a pinch. My homebrew supply has been depleted since the move, so I made sure to pick up a few commercial beers.
- Food supply: I usually have a kitchen full of ingredients. But it’s important to have some fast, non-perishable, no-cook foods on hand in emergency situations. Items high in protein are particularly important. For this event, I stocked up on instant-y meals, soups, chili, peanut butter, protein bars, soy milk & cereals, etc. Even if I don’t need these foods for this storm, they also come in handy for quick lunches at work or when I’m sick.
Now that I’m ready and just waiting on the storm to hit, there’s nothing left to do but kill some time brewing the first batch of beer in the new house! I’ll report back after the storm clears.
Comments Off on Ready and Brewing | tags: equipment, homebrew, tips
 A couple of weeks ago, J and I attempted our first brew day since we moved to Colorado. I chose a saison, thinking it would be a fairly forgiving style. Not only were we using newish equipment in a new space, we’re also 6,700 feet above sea level, where water boils at 200 degrees Fahrenheit. To prepare for brewing in our new environment, we conducted a hot water test to walk through the process and we researched the affects of a low boiling temperature on the brewing chemistry. However, first-hand experience is always the best teacher.